
 Kubernetes Documentation
This simple tutorial demonstrates how to setup Kubernetes deployments with Kubernetes Persistent Volumes using the Amazon EBS CSI driver for volume lifecycle management.
The instructions in what follows assume you have kubectl access to your Kubernetes cluster being managed by MKE.
Prerequisites
wgetutility installed in your bash environment- a Kubernetes 1.13 cluster
- access to
kubectlconnected to your Kubernetes cluster(s) being managed by MKE - ability to provision volumes on AWS in the same AZ as the target Kubernetes cluster(s)
Setting Up
-
Download the demo repository to your working directory:
wget https://github.com/mesosphere/csi-driver-deployments/archive/master.zip -O csi-driver-deployments.zip unzip csi-driver-deployments.zip && rm csi-driver-deployments.zip cd csi-driver-deployments-master/aws-ebs/kubernetes -
Grant AWS API IAM permissions:
The CSI driver must be connected to the AWS API. This sample IAM policy can be used to grant the driver the necessary permissions:
{
  "Version": "2012-10-17",
  "Statement": [
    {
      "Effect": "Allow",
      "Action": [
        "ec2:AttachVolume",
        "ec2:CreateSnapshot",
        "ec2:CreateTags",
        "ec2:CreateVolume",
        "ec2:DeleteSnapshot",
        "ec2:DeleteTags",
        "ec2:DeleteVolume",
        "ec2:DescribeInstances",
        "ec2:DescribeSnapshots",
        "ec2:DescribeTags",
        "ec2:DescribeVolumes",
        "ec2:DetachVolume"
      ],
      "Resource": "*"
    }
  ]
}
The recommended approach in this case is to add the above policy to the EC2 instance roles. If this is not possible in your case, you will need to modify the secrets.yaml with key_id, access_key and optionally session_token credentials for a IAM user that does have this policy.
- Install the AWS EBS CSI driver:
```bash
kubectl apply -f 0.2.0/
```
Your Kubernetes cluster is ready to provision volumes via AWS EBS.
Dynamically Provisioned Volume
Launch a deployment with a dynamically provisioned EBS volume
-
To begin the demonstration, launch the following application deployment:
kubectl apply -f example-dynamic/The dummy app
example-dynamicutilizes dynamically provisioned EBS volumes created by the CSI driver. -
Wait for an EBS volume to be created and Bound to the claim:
kubectl get pvc -w -
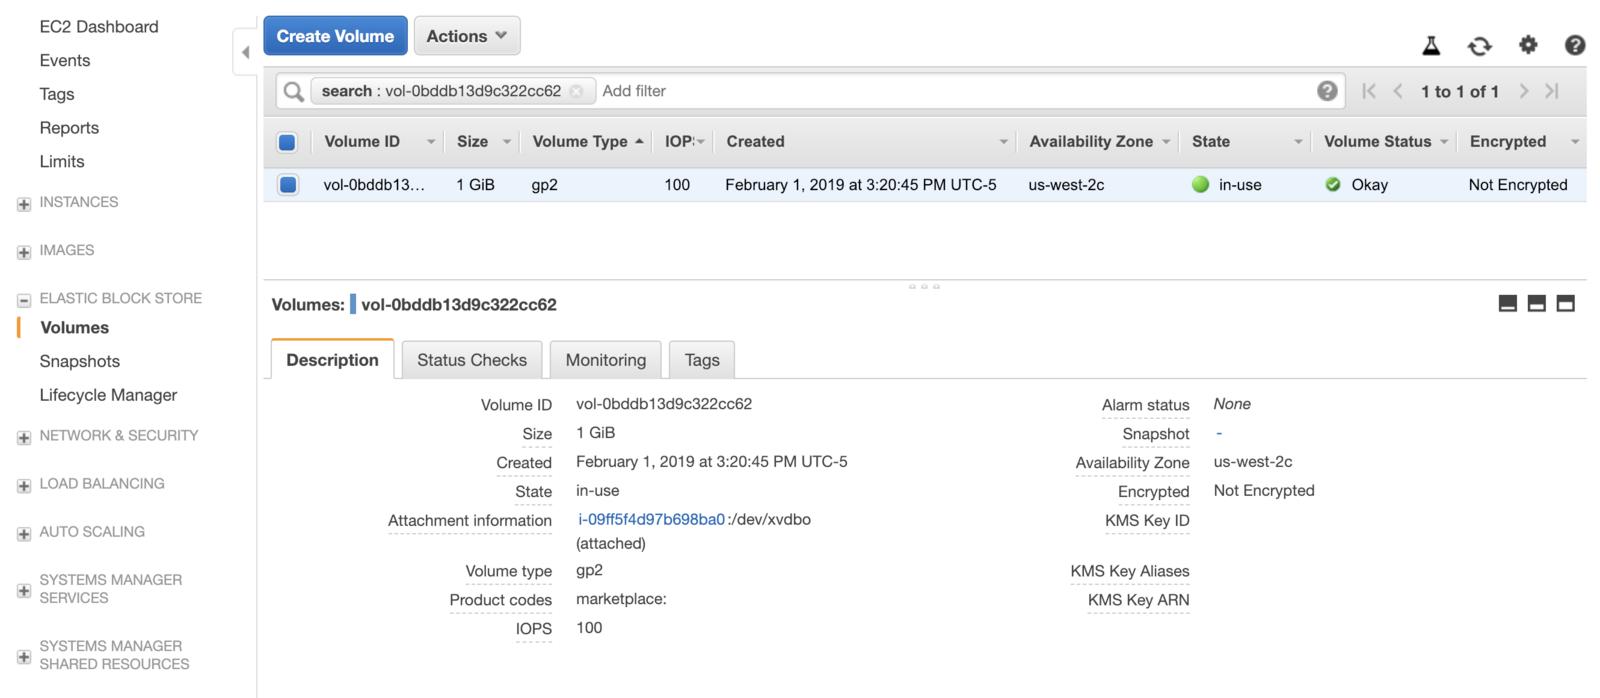
Get the EBS volumeID that was provisioned by the CSI driver:
kubectl describe pv -
Note the returned value of
VolumeHandlefrom the CLI output and confirm this value matches in the AWS console:
Delete the attached pod
-
Get the name of the pod:
kubectl get pods -
Take note when the pod started writing data:
kubectl exec -it <pod-name> cat /data/out.txt -
Delete the pod:
kubectl delete pods <pod-name>Deleting the pods takes a few seconds because the driver is unmounting the volume and detaching from the instance.
-
Get a list of your pods again:
kubectl get podsHowever, because the deployment is still active, Kubernetes will immediately reattach the volume to the new pod.
-
Now, take note of when this new pod started writing data:
kubectl exec -it <new-pod-name> cat /data/out.txtYou can see that data persisted across pod restart, as the log begins at the same time.
Delete the deployment and associated dynamically provisioned volume
-
Delete dynamic application deployment:
kubectl delete deployment ebs-dynamic-app -
Check the AWS console, see that the volume will still be “available”:

-
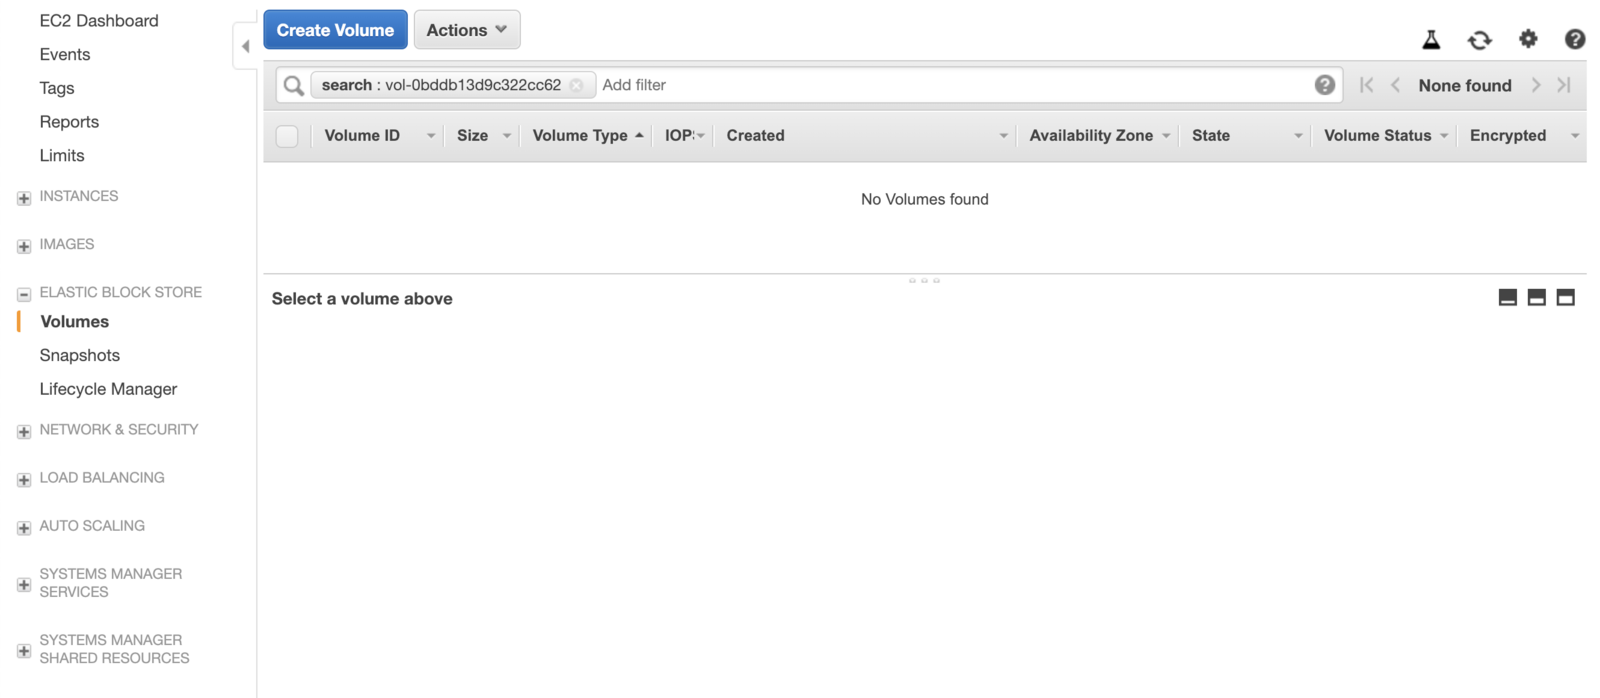
Delete the dynamic deployment’s pvc:
kubectl delete pvc dynamic -
Check the AWS console again, this time the volume is deleted and does not even show up:
Pre-provisioned Volume
Imagine you have an existing application that is already using an EBS volume to persist its data and it is now being migrated to run in Kubernetes.
Using a pre-provisioned volume as described below allows you to safely migrate that application without losing any of its data.
Creating a PersistentVolume resource type directly and specifying the backing EBS volumeID instead of relying on the CSI driver to provision the EBS volumes allows you to reuse your existing EBS volume(s) but still leverage the CSI driver functionality to properly attach and detach EBS volume(s) from the EC2 instances when application pods are being scheduled.
Launch a deployment with a pre-provisioned EBS volume
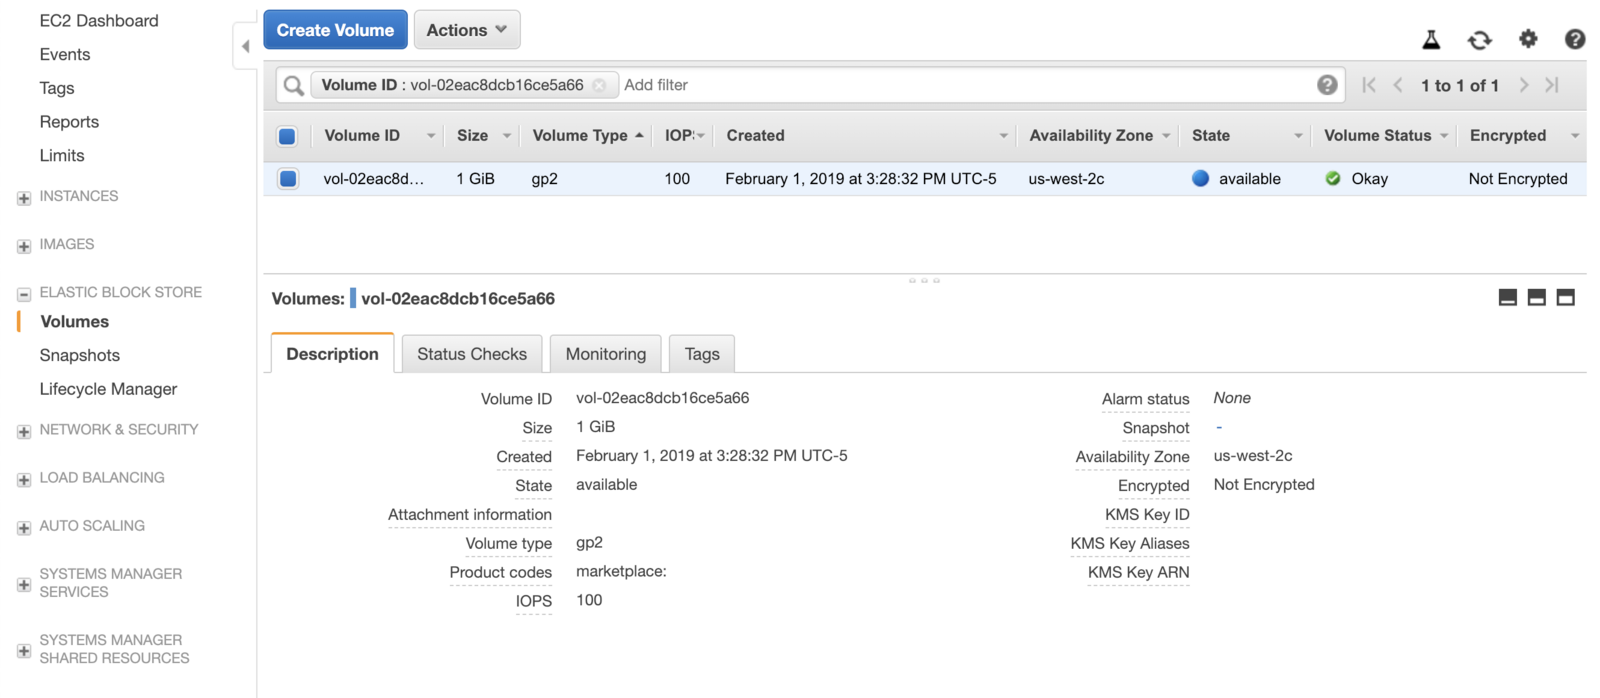
- Create a new EBS volume in the same AZ as the cluster in the AWS console, note the
volumeIDof the new volume:
- Next, edit the
pre-provisioned/pv.yaml, by inserting the value ofvolumeIDfrom the previous step in for the value ofvolumeHandlein thespec.csi.volumeHandle, replacing__REPLACE_ME__:
    apiVersion: v1
    kind: PersistentVolume
    metadata:
    name: pre-provisioned
    annotations:
        pv.kubernetes.io/provisioned-by: ebs.csi.aws.com
    spec:
    accessModes:
        - ReadWriteOnce
    capacity:
        storage: 1Gi
    csi:
        driver: ebs.csi.aws.com
        fsType: ext4
        volumeHandle: __REPLACE_ME__
    claimRef:
        namespace: default
        name: pre-provisioned
    persistentVolumeReclaimPolicy: Retain
-
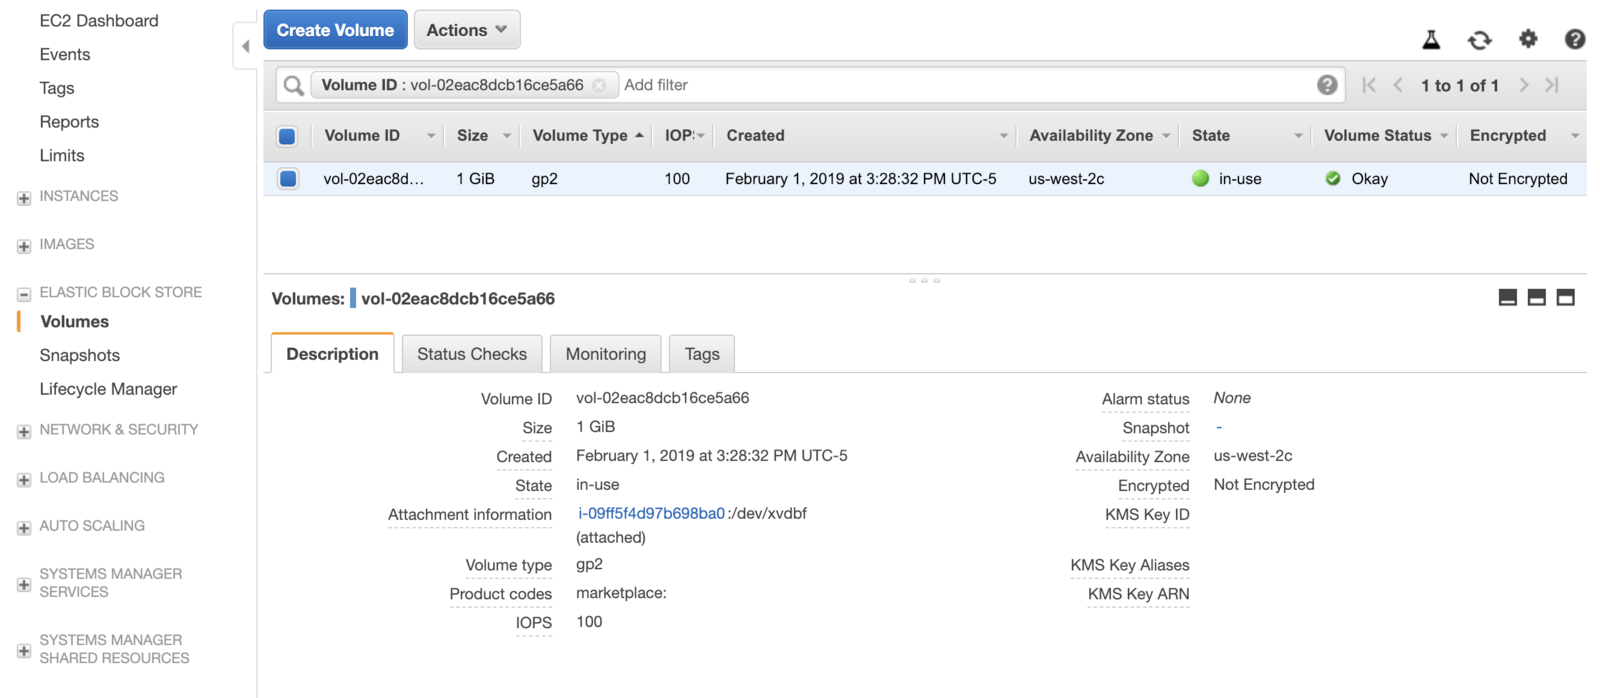
Launch the application deployment with a pre-provisioned EBS volume:
kubectl apply -f example-pre-provisioned/the EBS volume will be in “in-use”.
Delete the pre-provisioned deployment
-
Delete the application deployment:
kubectl delete deployment ebs-pre-provisioned-app -
Delete the PV and PVC:
kubectl delete pvc pre-provisioned kubectl delete pv pre-provisioned -
Check the AWS console again, the volume will be “available” even though the PVC and PV have been deleted. This is because we have set the appropriate reclaim policy in the PV configuration:
persistentVolumeReclaimPolicy: Retainso that that same EBS volume can be reused in other pods later on if desired.
